


After the release of Mane’s Bulletin as a semi-permanent endgame game mode in patch 1.4, the game has been constantly releasing new bosses that offer even more diverse and exciting challenges. In this article, I will go over the mechanics, teambuilding, and strategy for the 3 new bosses introduced in patches 1.5, 1.6, and 1.7.
Before we start, I strongly recommend you to check out the 1.4 Mane’s Bulletin guide I posted prior. In that guide I explained the basics of Bane’s Bulletin as a game mode, as well as some hypotheses and assumptions both guides are based upon. Reading this guide without first consulting the other might result in misconception and misinterpretation that will impair your reading experience. Also know that due to this guide being written during global patch 1.4, I have calibrated some effect names according to the existing 1.4 Mane’s Bulletin, but for effects unique to the new bosses I will follow the same principle aforementioned in the previous guide, and thus may differ from the actual release.
Table of Contents
Without further ado, let’s get started.
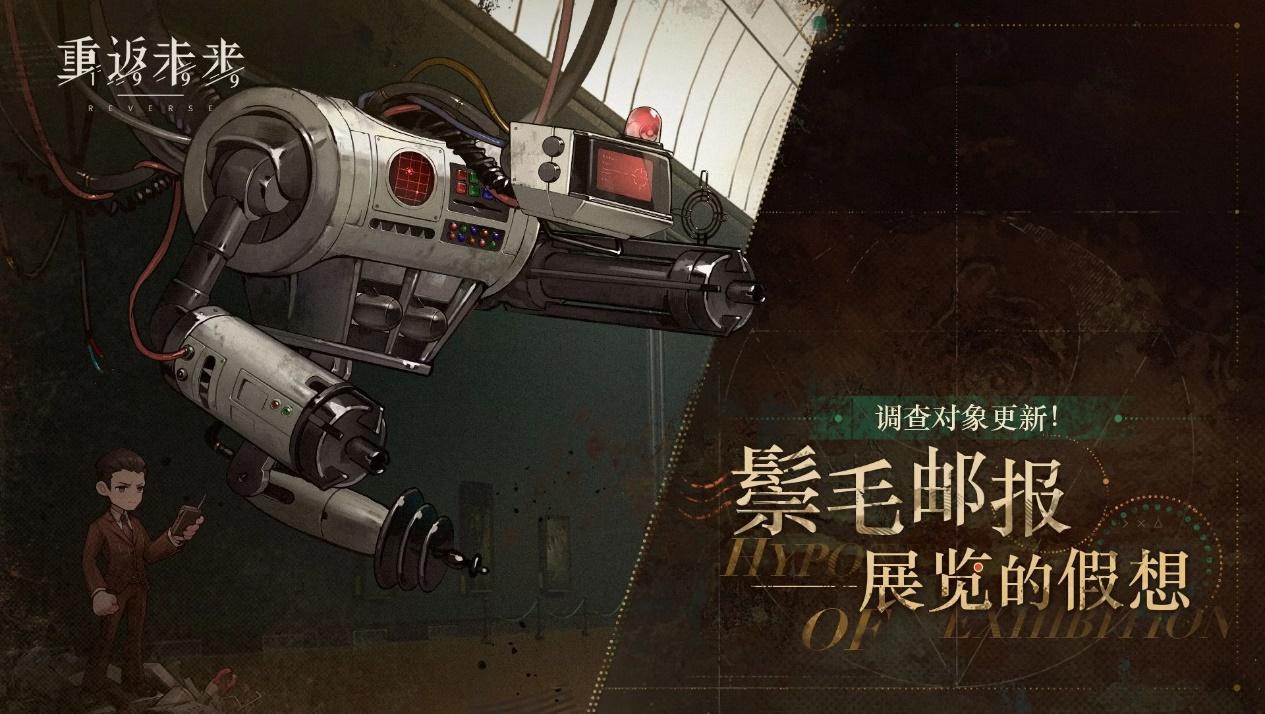
Hypothesis of Exhibition
This stage is first introduced in patch 1.5, and consists of Strange Doctor (the boss, plant, reality), "Futurism" (plant, reality), Test Robot I (plant, reality), and Test Robot II (plant, reality).
• [energy]: Has no effect. Used as a counter by "Futurism". [concealment]: Reality dmg taken reduction +75%, cannot be dispelled. [exposure]: Reality dmg taken reduction -75%, cannot gain [concealment] and removes [concealment] on self (if any), cannot be dispelled. [paralysis]: Cannot act for one turn.
• Beast and plant afflatuses units gain 20% stats increase in atk, def and hp. Units gain 1 layer of [rising morale] after using a buff/debuff/healing/counter/channel normal skill, gain 2 layers instead after using Ultimate. All enemies gain 2 layers of [sturdiness] after any enemy uses Ultimate.
• The boss gains [concealment] every turn. If "Futurism" has [paralysis] at turn end, grant it 3 [energy] and gain [exposure] next turn. If all robots are destroyed, the boss gains [exposure] for the next 3 turns. Each hp bar, the boss will first use a buff that grants 1 moxie and 1 [energy] to "Futurism" and 30% dmg bonus to all allies. The next turn it will attack 2 units with the highest hp percentage, decreasing 30% of their Ultimate might and summon one Test Robot II (max enemy count is 4). Then repeat the above 2 turns until Ultimate, which grants "Futurism" 5 moxie, 5 [energy] and 50% dmg bonus.
• “Futurism” gains 4 [energy] when entering battle. At turn end or after being attacked, lose 1 [energy]. If it loses all [energy] after being attacked, gain [paralysis]. If it has [burn], [poison], or [corrosion] when attacking, dmg bonus -25%. Every turn it attacks 2 units with the highest hp percentage. At 5 moxie, it uses Ultimate which basically kills everyone.
• Test Robot 1 has dmg taken fixed at 1, and has a total hp of 8. Every turn it grants [reflect] to all allies, which reflects 50% genesis dmg when attacked. If it doesn’t have [burn], [poison], or [corrosion], also grants 1 [energy] to “Futurism”. At 3 moxie, it uses Ultimate which deals mass dmg and grants 2 [energy] to “Futurism”.
• Test Robot 2 does not spawn when the boss enters a new hp bar like the other 2 robots, instead it only spawns when the boss uses its skill 2. It has dmg taken fixed at 1, and has a total hp of 3. It will inflict [bleed] on all units with its skill on the turn that it spawns, and use its 1 moxie Ultimate on the next turn, dying immediately afterwards. Its Ultimate deals a lot of dmg to the unit with the highest hp percentage.
Team composition: Spathodea is the best choice for carry in this stage. Aside from her, Centurion and Jessica also perform quite well in this stage, allowing you to achieve SSS with relative ease. Other reality dmg carries would have decent performance as well. In patch 1.5, Lilya and Ulu can be used as sub carry and support since they play into the stage’s mechanics preventing “Futurism” from acting. Druvis III’s control can be quite useful here as it stops “Futurism” with less AP. In later patches, the use of Jiu Niangzi, Getian and Isolde further decreases the stage’s difficulty. Other supports with handy attack skills, extra action, or control, such as 37 or necrologist, can also be used. The best healer here would obviously be Tooth Fairy, but Sotheby is also a good choice with her [poison] application. If you do not have enough beast/plant reality units for a complete team, just use any decent unit you would use for limbo, but preferably those that can contribute constant attacks to deplete the [energy] of “Futurism”.
Stage strategy: The first priority would be to survive. Never be greedy and risk letting “Futurism” attack unless you are 100% sure that you can empty the boss’s hp bar, especially in later turns, its high skill multiplier and penetration rate will make sure that you regret it. Save up reality dmg burst skills for when the boss enters [exposure] state, but keep in mind that you have to attack “Futurism” as well. Since “Futurism” gains a total of 4 [energy] after [paralysis] expires, if you don’t do anything about it you will never have a chance to attack the boss. Inflict [burn], [poison], or [corrosion] on Test Robot 1 to cut down [energy] gain. Use extra action units to accelerate [energy] loss. If you are sure that you can deplete the current boss hp bar in 2 turns, you can also choose to inflict control on “Futurism” and thus save more precious AP for attacking the boss. But if you fail, you will find that “Futurism” has gained too many layers of [energy] to be stopped. Since you have next to no AP to spare for the two Test Robots, try not to let the boss survive to the point that they have their Ultimates ready, as then you are close to game over.
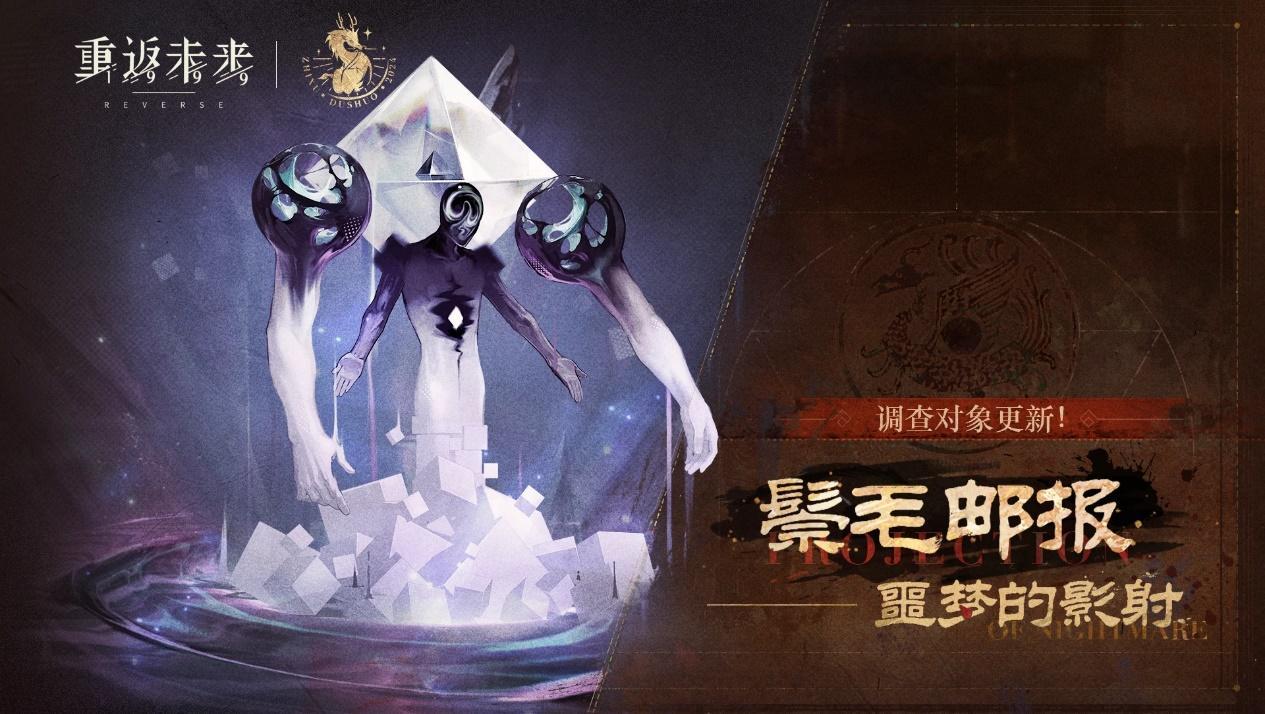
Projection of Nightmare
This stage is first introduced in patch 1.6, and consists of a main body (the boss, intellect, reality), two arms (intellect, reality), and a core (intellect, reality).
• [spite]: Becomes [spiteful] after accumulating 6 stacks. [spiteful]: Cannot use buff/debuff/counter/healing skills. [fault]: dmg taken reduction -50%, crit defense -30%, removed after the current hp bar is depleted.
• Units who acted 2 times in one turn gain 30% atk for 3 turns, units who acted 3 times in one turn gain an additional 30% dmg bonus for 3 turns. Units with 3 types of [stats up][pos status][shield] gain 1 moxie and 2 turns of dmg heal at turn end, units with 5 of those buff types additionally get cleansed of all [neg status]. All enemies gain 1 layer of [sturdiness] every 2 turns.
• The boss gains [fault] if you destroy any of its body parts, and additionally loses 30% max hp if you take down the core. Each hp bar, the boss will first debuff all units with 2 turns of +10% dmg taken. The next turn it will use a buff that grants +10% reality and mental def to self. If any arm is present, it will also use a mass attack that inflicts 1 [spite]. Afterwards it will destroy all remaining arms and summon new ones. Then repeat the above 2 turns until Ultimate, which is a mass attack that inflicts 2 [spite].
• The two arms will each move twice per turn, one using ST skills and the other using AoE skills. Each of their attacks will inflict 1 [spite] on one unit. When they are destroyed by your attacks, they will each grant 1 moxie to your unit with the lowest moxie count.
• The core will grant all enemies 1 layer of [stability] every turn for 4 turns. Then it will cleanse [stats down] on all enemies and use Ultimate, which deals dmg to the unit with the highest atk and inflict 2 [spite].
• Unlike any other raid, here only the boss gains [reconstruction] as the stage progresses. Which means that the arms and core will remain fairly easy to destroy throughout the stage.
Team composition: Due to the anomaly explained in the paragraph above, this boss is super easy to defeat and any carry would be enough to achieve a high score. That said, Jiu Niangzi and high portrait 37 are best suited for the job. Similarly, pretty much any unit can be used as sub carry, with Getian and 6 among the better choices. In later patches, the use of Isolde further decreases the stage’s difficulty to the point that using her alone as damage output is enough to hit above one million. You can choose more offensive focused supports here for survivability issues are almost nonexistent. The best healer here would obviously be Tooth Fairy, but any other works just fine. You can even run without a healer, provided that you do enough damage. Just use any decent unit you would use for limbo, but preferably those that benefit from multiple moves or provide buffs.
Stage strategy: Go straight for the boss’s main body before hitting S rank. Afterwards, take down one of its arms first to inflict [fault] that allows you to damage the body more effectively. Note that [fault] will be cleansed once the boss reaches the next hp bar, so plan out your skills, especially Ultimates, so that the hard-hitting ones won’t hit the boss on its next hp bar and thus lose dmg. If after some bars cleared you feel like the boss is getting too tanky even with [fault], aim some of the skills with low dmg bonus multiplier (these will do next to nothing to the main body part by now) at the core, as bringing it down takes out a large chunk of the boss’s hp. Arrange your skills to let one unit take multiple moves each turn, as this allows maximum exploitation of the stage’s mechanics, and should prevent any unwanted [spiteful] creeping up that might mess up your plans. There’s really not much else that can be said of this stage, it’s the easiest among all the raid bosses and I’m sure most people won’t have any problem dealing with it.
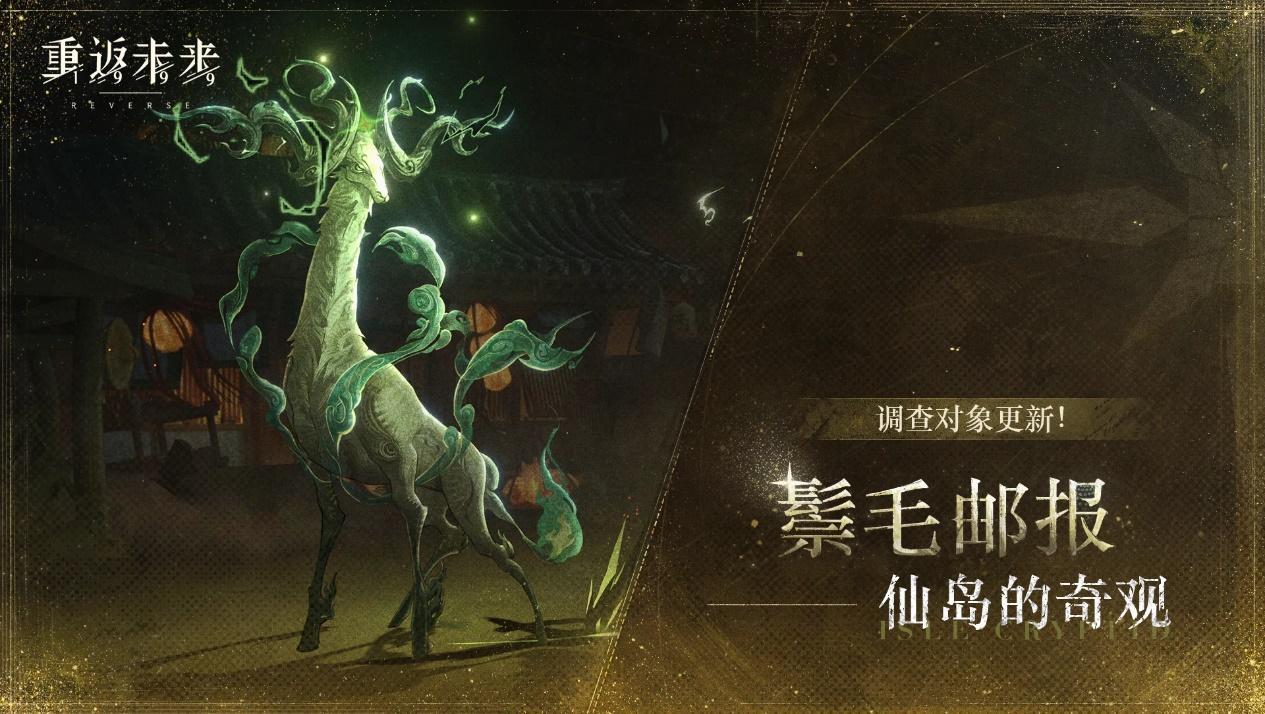
Isle Cryptid
This stage is first introduced in patch 1.7, and consists of Lord of the Isle (the boss, star, mental), Herd Grazier (intellect, reality), and Wine Servant (intellect, reality).
• [thunder]: Has no effect. Used as a counter by Lord of the Isle. [tipsy]: dmg bonus +10%, dmg taken reduction -30%, cannot be cleansed as it is classified as a buff. [electrified]: After taking action, lose 6% max hp.
• Beast, plant, star and mineral afflatuses units gain 20% stats increase in atk, def and hp. Units who deal mental dmg enjoy 15% dmg bonus. Units gain 1 layer of [rising morale] after using 2/3-star skills.
• The boss deals 25% less dmg when inflicted with 2 or more debuffs. When taking dmg from 1/2/3-star skills, gain 1/3/5 layers of [thunder] respectively (extra actions only add 1 layer.) At turn end, if [thunder] count is between 8-13 (including 8 and 13), instantly do an AoE follow up attack; if [thunder] count is at 14 or more, lose 20% max hp instead. All [thunder] count expires after taking effect. Each hp bar, the boss will first attack one unit and gain a 2 turns shield of 8% max hp. The next turn it will randomly attack two units. Then repeat the above 2 turns until Ultimate, which deals massive dmg and inflicts 2 layers of [electrified] on all units. When under its shield, the boss enjoys +20% dmg taken reduction and all its attacks will gain high penetration rate. However, when the shield is broken, it will take +60% dmg that turn.
• Herd Grazier will gain [taunt] if it didn’t take any dmg last turn. It will lose the [taunt] once attacked by a 2/3-star skill. When taking lethal dmg, it will revive and gain [disarm] for 2 turns, granting the boss 3 layers of [thunder]. It switches between ST and AoE attacks, one dealing more dmg to units with 2 or more buffs and the other dealing less dmg when inflicted with 2 or more debuffs.
• Wine Servant will also revive and gain [disarm] for 2 turns when taking lethal dmg, granting the boss 3 layers of [thunder]. It switches between ST and AoE attacks, one targeting the unit with the lowest hp and the other inflicting [tipsy].
• This stage had a severe bug in patch 1.7 where the boss, while labeled star and has all the visual indication of a star unit, is in fact plant. The bug is later fixed but it’s unsure if global server will repeat this past mistake. If it does reoccur, take advantage and utilize your beast units.
Team composition: This stage is obviously designed with Marcus in mind so it’s no surprise that she is the best carry here. However, if you play it smart, other carries like Jessica, Melania and Spathodea would also work. High star skills are favored in this stage, the AP demand resulted in AFK units like Isolde becoming the best choice for sub carry. Due to the high survival pressure of this stage, defensive supports would be of much help, especially An-an and 6 who also provide high star skills. The best healer here would be Yenisei, her potent ST heal can work wonders on those close to death, and her self-star up is also quite useful. Tooth Fairy can be used here but her squishiness might prove to be problematic. Dual healers is a viable option as well. If you do not have the units mentioned above, just use any decent unit you would use for limbo, but preferably those that can utilize high star skills or increase team survivability.
Stage strategy: The first priority would be to survive. This stage boasts the highest survival pressure among all the current raids, and the enemies targeting randomly doesn’t improve the situation. Combined with the need to control the boss’s [thunder] stacks to be either below 8 or above 13, it implores you to utilize the extra AP when the boss has close to 7 layers to merge high star skills and heal up. Changing units’ resonance to be more defense focused would also be of much help. Plan burst attacks for when the boss has its shield up, for breaking the shield allows better dmg and the boss’s attacks are far more dangerous with shield up. Pay attention to Herd Grazier the turn before your burst and don’t let it acquire [taunt]. Remember that “killing” Herd Grazier and Wine Servant also grants the boss [thunder]. Fair warning, this stage is rather dependent on chances and luck due to all the random targeting. In later turns 3 enemies aiming at the same unit could easily kill even if that unit had max hp. You might need to retry more times than usual to achieve the ranks you desire.
#Reverse1999 #Reverse1999Guide